Automatic Brinell Hardness Tester LD3000A AFFRI
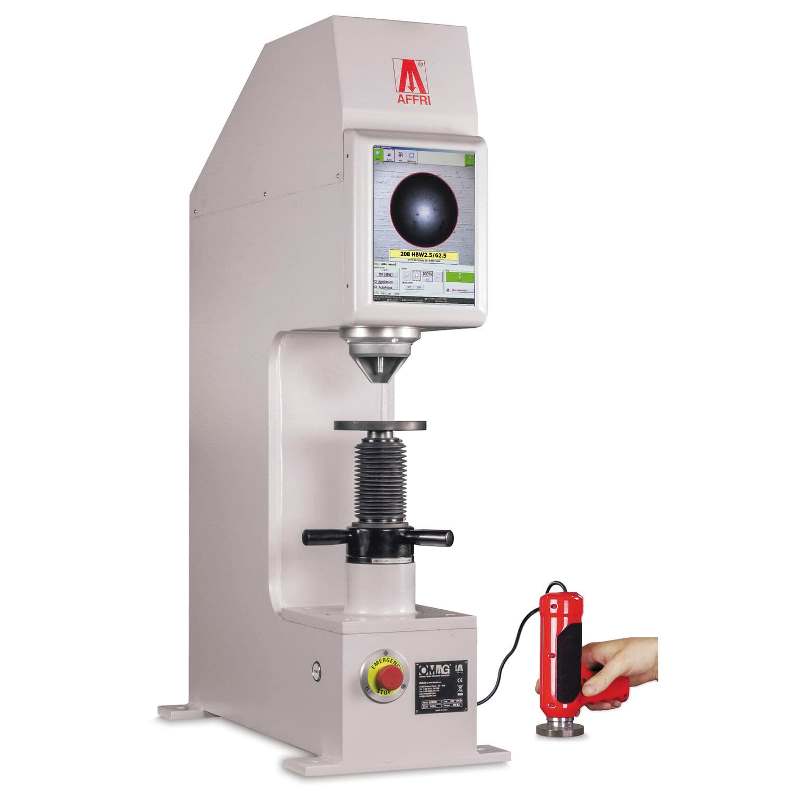
Automatic Brinell hardness tester with on-board LCD and portable probe
SKU: LD3000Α
Description
Automatic Brinell hardness tester with on-board LCD and portable probe. Real Brinell HBW in compliance with ASTM E10 and ISO 6506.
TEST LOADS: from 10 to 3000 kgf (From 98,07 to 29421 N)
FEASIBLE TESTS: (Depending on the models, for more information see the table at the bottom):
Brinell HBW: 1/10 – 1/30 – 2.5/62.5 – 2.5/187.5 – 5/25 – 5/62,5 – 5/125 – 5/250 – 5/750 – 10/100 – 10/250 – 10/500 – 10/1000 – 10/1500 – 10/3000
Brinell HBWT: 2.5/62.5 – 2.5/187.5 – 5/125 – 5/250 – 5/750 – 10/500 – 10/1000 – 10/1500 – 10/3000
Rockwell: HRA – HRB – HRC – HRD – HRF – HRG – HRL – HRM – HRR
Vickers HV 3 – HV 5 – HV 10 – HV: 20 – HV 30 – HV 50 – HV 100 (Only indentation)
- EASY AND FAST AUTOMATIC MEASUREMENTS:
Spin the leveling screw’s handle and bring your sample to make contact with the clamping hood blocking the piece. Press the START button and the measuring head approaches the sample, applies the load to perform the indentation and goes back upward; all in automatic succession without breaching a phase. - CLOSED LOOP TECHNOLOGY (Pat. AFFRI):
Load forces are applied through load cells and electronically controlled in “Closed Loop” with a frequency of 1 khz, assuring perfect linearity in every range. Range from 10 to 3000 Kgf. Results are not affected by any structural de ection, misalignment, vibration or problems associated with dead weight systems on traditional testers. The tester can also run in an inclined position. - SELF COMPENSATING AND CLAMPING SYSTEM (Pat. AFFRI).
When testing unstable samples or de ective parts, the AFFRI System will follow the sample and not lose contact, compensating any frame dflection during the test cycle. Accurate results are assured even with oiled, dusty or dirty pieces. - VERTICAL STROKE:
The measuring head with indenter has a vertical stroke of 30mm. The indenter head retracts into a protective cylinder at the end of the measurement cycle.
- Load accuracy: better than 0,5%
- Standards: EN-ISO 6506-1 / EN-ISO 6507 / EN-ISO 6508-2 / ASTM E-10 / ASTM E-18 / ASTM E-384 / ASTM E-92
- Indenter and clamping-hood stroke: 30 mm
- Elevating screw stroke: 150 mm. Removing the elevating screw, the vertical capacity increase till 300 mm for large samples.
- Depth capacity: 190mm
- Test loads:Brinell: 98.07 – 147.1 – 294.2 – 306.5 – 612.9 – 1839 – 2452 – 4903 – 7355 – 9807 – 29421 N
(10 – 15 – 30 – 31.2 – 62.5 – 187.5 – 250 – 500 – 750 – 1000 – 3000 kgf)
Rockwell (On request): 588.4 – 980.7 – 1471 N (60 – 100 – 150 kgf)
Vickers (On request): 98.07 – 147.1 -294.2 – 490.3 – 980.7 N (10 – 15 – 30 – 50 – 100 kgf)


