Coating Thickness Gauge Leptoskop 2042 KARL DEUTSCH
High quality coating thickness gauge Leptoskop 2042 by KARL DEUTSCH
SKU: Leptoskop 2042
Description
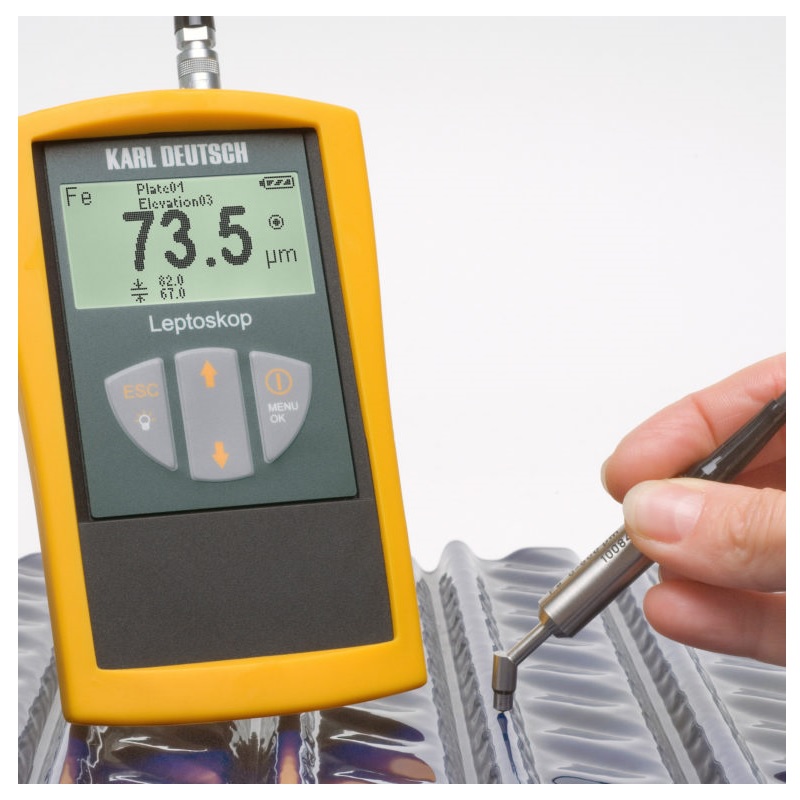
Depending on the probe, the hand-held device with the clearly arranged display determines the thickness of non-magnetic layers on magnetizable substrates (according to DIN EN ISO 2178) and the thickness of non-conductive layers on non-magnetic, conductive base material using the eddy current principle (according to DIN EN ISO 2360).
External probes are available from a large variety of models, so the most diverse testing problems can be solved.
Versions
LEPTOSKOP 2042 (order no.: 2042.001)
Device expansion stages
- Module „Statistics“ (order no.: 2911.001)
- Module „Statistics and Data Memory“ (order no.: 2911.002)
Standard packages
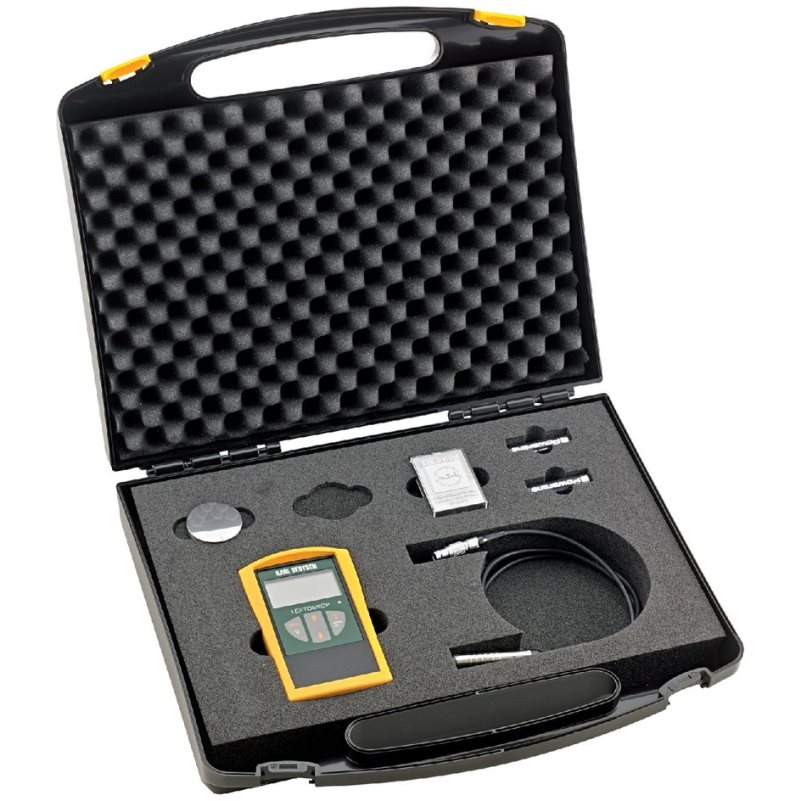
- Fe Basic Package (order no.: 2042.901)
- NFe basic package (order no.: 2042.902)
- Fe/NFE basic package (order no.: 2042.904)
Statistics packages
- Statistics package Fe (order no.: 2042.911)
- Statistics package NFe (order no.: 2042.912)
- Combination Fe/NFe Statistics Package (order no.: 2042.914)
Data packages
- Data package Fe (order no.: 2042.921)
- Data package NFe (order no.: 2042.922)
- Combination data package Fe/NFe (order no.: 2042.924)
Key Facts
- Wide range of calibration options
- Variable display modes for optimal adaptation to the measuring task*
- Limit value input and monitoring*
- Measured value storage* with easy-to-handle file management as under Windows
- Wide range of statistical evaluation options
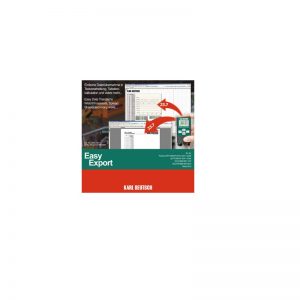
- Data transfer to Windows programs optionally with the PC programs iCom or EasyExport
- Display: Approx. 48 mm x 24 mm, back light illumination
- Measuring methods:
– Fe-measuring: magnetic-inductive method (EN ISO 2178)
– NFe-measuring: eddy current method (EN ISO 2360) - Measurement range: 0 – 20,000 µm, depending on probe used
- Calibration:
– Zero calibration
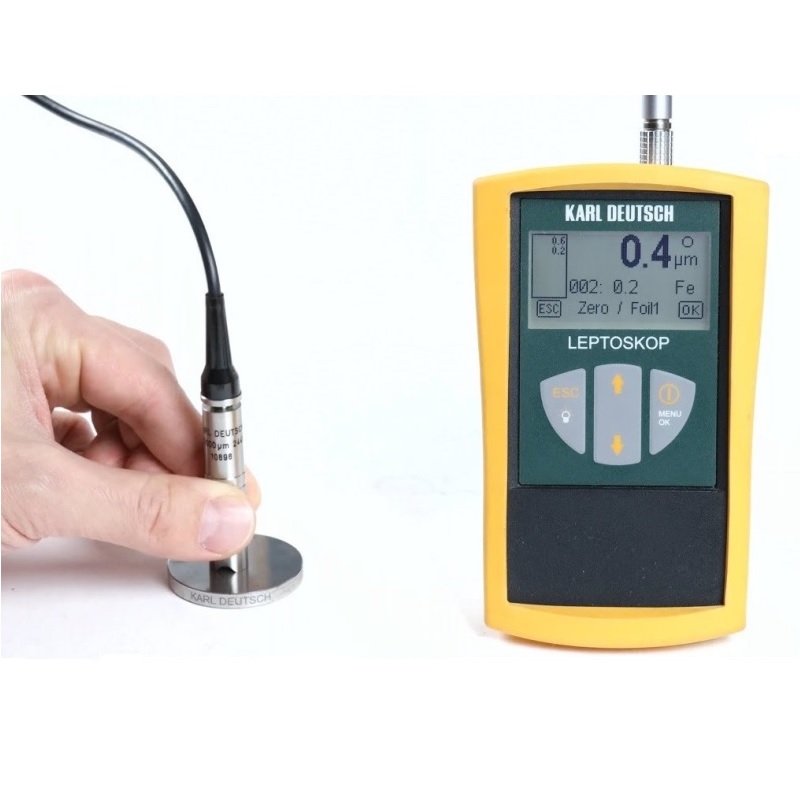
– Single and multi-point calibration with foils on uncoated base material
– Calibration on coated material (Fe), if no uncoated material is available
– Factory calibration
– Loading and saving of customized calibrations - Measuring uncertainty (after calibration):
– For coatings < 100 µm: 1 % +/- 1 µm
– For coatings > 100 µm: 1 to 3 % +/- 1 µm
– For coatings > 1,000 µm: 3 to 5 % +/- 10 µm
– For coatings > 10,000 µm: 5 % +/- 100 µm - Interface: USB/RS232 via adaptor cable
- Measurement units: µm, mm, mils or inch
Storage: Up to 140 files, 999 measured values per file
Overall: max. 9,999 measured values less approx. 100 measured values per generated file - Statistics:
– Minimum, maximum, arithmetic mean, number of readings, standard deviation
– Monitoring of limit values
– Local coating thickness and average coating thickness according to EN ISO 2808 - Date and time: Real-time clock, battery backed
- Power supply: 2 x AA-batteries (primary or rechargeable cells), USB or mains adapter
- Operating hours:
– Approx. 90 hours with backlight off (with alkali-manganese primary cells)
– Approx. 45 hours with backlight on (with alkali-manganese primary cells) - Battery level indicator:
– 4-stage battery level indicator
– Audible warning signal approx. 2 to 4 hours before undervoltage condition occurs
– Automatic shut-off on undervoltage - Operating temperature: 0 °C to +45 °C
- Storage temperature:
– -20 °C to +60 °C without batteries
– 0 °C to +45 °C with batteries - Housing dimensions and weight: 81 mm x 121 mm x 32 mm, approx. 150 g (with batteries, without rubber holster)
- Dust and humidity protection: Protection class IP 40 (protection against intrusion of particles > 1 mm)
- Probe electronic: Active probe with built-in microprocessor and signal processing

